When Should You Upscale an Image? A Practical 2× Guide
A realistic guide to 2× image upscaling, print-size math, artifact checks, and the cases where a larger file cannot recover missing information.
Upscaling increases pixel dimensions. It can make a small image easier to place in a layout, but it cannot recover a license plate, a face, or lettering that was never legible in the source. That distinction is the difference between a useful upscale and an expensive-looking mistake.
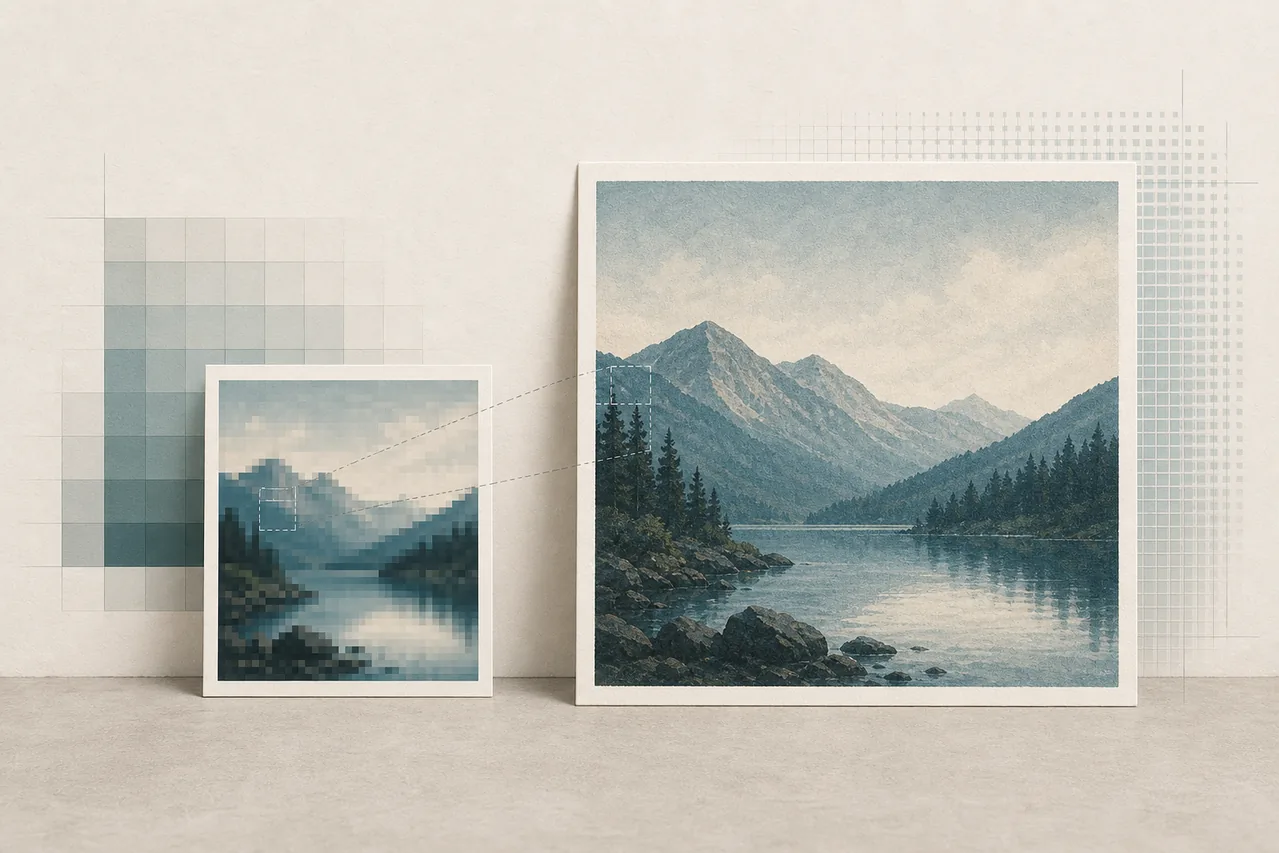
ImageFree.net's image upscaler currently produces a 2× result: a 900 × 600 image becomes 1800 × 1200. It does not offer an arbitrary "make this 4K" control.
What 2× means
Doubling width and height creates four times as many pixels. The model estimates plausible edge and texture information for those new pixels. "Plausible" matters: fine details may look sharper without being historically or literally accurate.
This works well for illustrations, AI-generated art, lightly compressed product photos, and web images that are just below the required dimensions. It is less reliable for tiny faces, small text, technical diagrams, signatures, or evidence images.
Check the destination first
For screens, start with the CSS display size. A 1200-pixel-wide image is usually enough for a 600-pixel slot on a 2× display. Uploading a 5000-pixel file to the same slot adds download weight without visible benefit.
For print, divide pixel dimensions by the target pixels per inch:
- 2400 pixels at 300 ppi = 8 inches
- 2400 pixels at 200 ppi = 12 inches
- 2400 pixels at 150 ppi = 16 inches
Viewing distance changes what is acceptable. A photo book held close needs more detail than a poster viewed across a room. Always request a proof for important print work.
A sensible workflow
- Find the least-compressed original. A clean 1200-pixel file often beats a blocky 2000-pixel copy.
- Crop and straighten before upscaling so you do not process pixels you will discard.
- Run one 2× pass.
- Inspect the result at 100% beside the original.
- Check faces, lettering, straight edges, hair, repeating patterns, and flat gradients.
- Resize or compress a delivery copy; keep the larger master separately.
Do not automatically run the result through the upscaler again. A second 2× pass makes width and height four times the original and may amplify invented texture or halos. Use it only after inspecting the first result and only when the destination truly needs more pixels.
Common failure patterns
Text turns into convincing nonsense
Upscalers can sharpen the outline of letters while changing the letters themselves. Rebuild important labels with real type after upscaling.
Faces change at small sizes
If the original face is only a few pixels wide, the model has to guess. A sharper face may be a different face. Return to the original source or choose another image.
Edges develop halos
High-contrast borders—dark products on white, logos, architecture—can gain bright or dark outlines. Compare at 100%, not only in the fit-to-screen preview.
Skin and fabric become waxy
Texture enhancement can become repetitive. If pores, cloth, grass, or hair look stamped, use the original at a smaller size or soften the result in a conventional editor.
Three practical examples
Blog hero: A 1024-pixel generation displayed at 900 pixels may already be sufficient. Upscale only if the theme serves a larger responsive source or you need a crop.
Marketplace photo: Upscale a clean supplier image when it falls below the platform's minimum, but do not use enhancement to hide a misleading or inaccurate product photo.
Small print: Calculate the required dimensions first. If a 2× result still falls short, decide whether a lower ppi is acceptable at the intended viewing distance rather than assuming another pass will restore truth.
The best upscale is boring: it meets a known size requirement, survives inspection, and does not pretend to reveal information the original never contained.