How to Remove Watermarks from Images with AI
Learn how to remove a watermark or old logo from an image you own with one clear AI editing prompt, then review the reconstructed background.
Watermarks, logos, dates, and other text can outlive their purpose. You may need to update an old campaign image after a rebrand, remove a temporary label from your own design draft, or clean up a photo that you created and still have the right to edit.
In the past, this kind of repair usually meant opening Photoshop, carefully selecting the unwanted mark, and rebuilding the area underneath it with a healing brush or clone stamp. An AI photo editor offers a simpler starting point: describe what should disappear in plain language, and the model attempts to reconstruct the covered background for you.
In this guide, we will use the ImageFree.net AI Photo Editor to remove several sample logos with one prompt. We will also look at what the editor is actually doing, where the method works well, and what to inspect before downloading the result.
Only remove watermarks from images you own or have permission to edit. Removing a watermark does not give you copyright or permission to use someone else's work.
How watermarks were traditionally removed
Before generative image editors, most watermark-removal workflows relied on one of three methods.
Crop the image
Cropping is the quickest option when a watermark sits near an edge. It requires almost no editing experience, but it also changes the dimensions and composition of the image. You may lose important content, and the method is of little use when the mark sits near the center.
Cover or blur the watermark
A blur, mosaic effect, solid block, or graphic shape can hide the original mark. The problem is that it usually replaces one distraction with another. Covered areas are especially noticeable in photographs with people, buildings, scenery, or detailed textures.
Repair the area manually
Tools such as healing brushes, clone stamps, and content-aware fill can produce much cleaner results. They let an editor copy nearby pixels and gradually rebuild the covered region. However, natural-looking repairs often require careful adjustments to brush size, opacity, edges, perspective, lighting, and texture. Even one small watermark can take several passes.
What an AI editor does differently
An AI photo editor does more than erase a group of pixels. It analyzes the subject, background, colors, light, and texture around the unwanted element, then generates a plausible replacement for the covered area.
That changes the workflow. Instead of tracing every edge and manually copying nearby details, you can give the editor a direct instruction such as:
Remove the watermark from the image and keep the original scene unchanged.
The model interprets the request and attempts the selection, removal, and reconstruction in one step.
There is an important limitation: AI cannot recover the real pixels that were hidden beneath a watermark. It creates new content based on the surrounding image. The result may look convincing, but it is still a reconstruction and should always be reviewed.
Our watermark-removal test
For this demonstration, we used a test image covered by several repeated “Logo” marks. The exaggerated example makes it easy to see what changes between the input and output. The workflow is the same whether an authorized image contains one small watermark or several marks.
Original image

The logos appear over different parts of the scene and hide some of the background. This is a more demanding test than removing a single mark from an empty corner because the editor must generate several separate areas while preserving the overall composition.
How to remove a watermark with the ImageFree.net AI Photo Editor
The process takes four steps and does not require any manual masking.
1. Open the AI Photo Editor
Go to the AI Photo Editor. The page includes an image upload area and a text box for your editing instructions.
2. Upload the image you are allowed to edit
Choose the source image from your device. Once it has uploaded, check that the preview is sharp and correctly oriented. Starting with the highest-quality version available gives the model more useful detail around the watermark.
3. Describe exactly what should change
For this test, we used:
Remove all visible logos and watermarks from the image. Keep the original scene, composition, colors, and lighting unchanged.
A shorter instruction can also work:
Remove all logos and watermarks from this image.
The longer version is usually a better starting point because it identifies both sides of the task: what the model should remove and what it should preserve.
4. Generate the edited image
Submit the prompt and let the editor process the image. It will identify the requested marks and attempt to fill each covered area with content that fits the surrounding scene.

When processing finishes, compare the result with the original before downloading it. Look at both the full composition and the edited areas at 100% zoom.
Before and after: the result
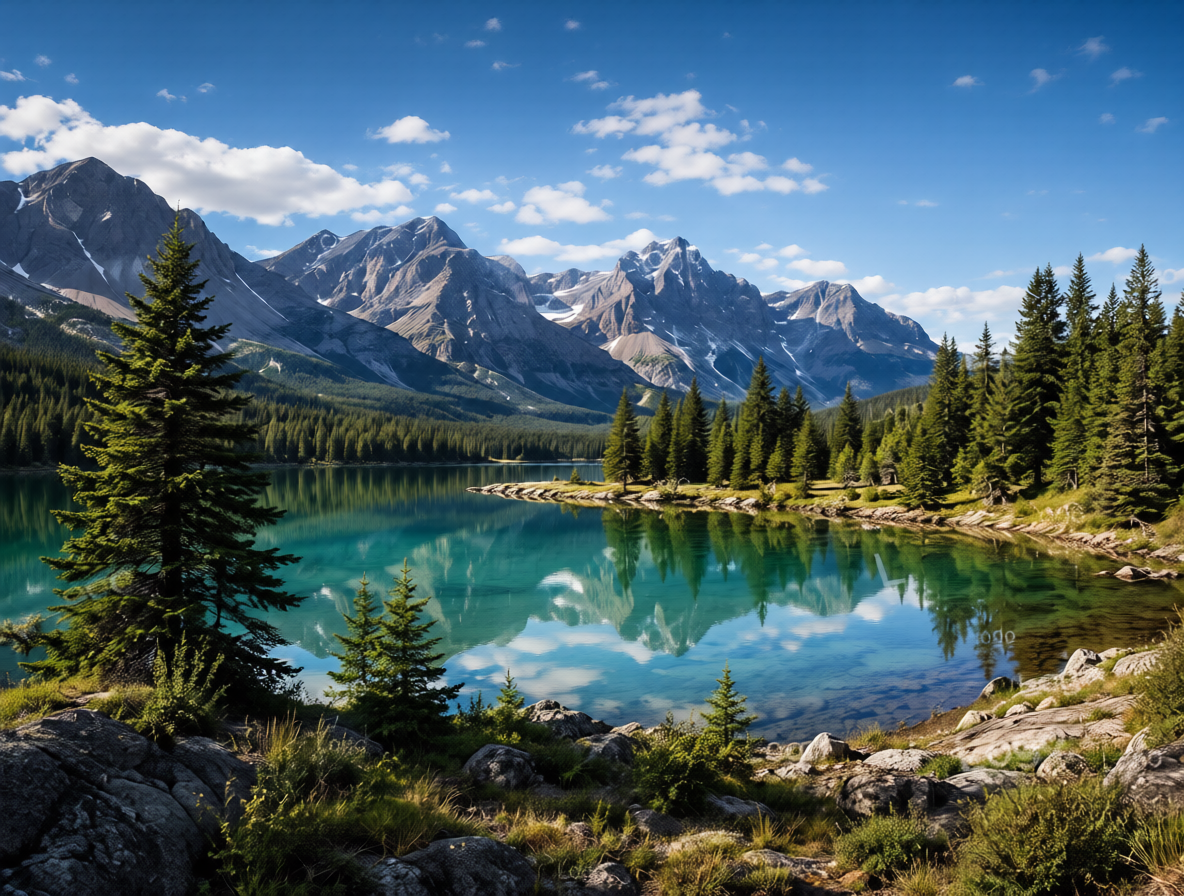
Here is the image returned by the editor:
The visible logo marks are gone. Instead of placing a blur or flat color over them, the AI has attempted to continue the shapes, colors, and textures around each covered area so that the repairs blend into the full image.
Compare this result with the original image above. Pay attention not only to whether the words disappeared, but also to whether background edges, repeated textures, shadows, and small objects still make sense. A clean removal should not introduce a new distraction.
How well does AI watermark removal work?
The main advantage is simplicity. You do not need to learn a set of retouching tools or manually select every mark. For a clear image with a relatively simple background and small watermark, an AI editor can often create a natural-looking result in one pass.
The difficulty increases when a watermark covers:
- a face, hand, or other identity-defining detail;
- small but meaningful text;
- complex architecture or strict geometric lines;
- product labels or controls;
- fine fabric, hair, foliage, or repeating patterns.
In those situations, the AI is not revealing what was hidden. It is inventing a visually plausible replacement. The edit might look good at normal size while showing changed textures, missing details, or incorrect structures when enlarged.
Before publishing or reusing the image, inspect the repaired regions closely. If accurate documentary or product detail matters, compare every important feature with an unwatermarked source or use a conventional editor where you can control the repair precisely.
Tips for better results
Start with a clear source image
Higher resolution and cleaner details make it easier for the model to understand the content around a watermark. Heavy compression, blur, and previous edits give it less reliable visual information to work with.
Name the exact element to remove
Avoid vague instructions such as:
Edit this image.
Tell the model whether the target is a watermark, logo, date, label, or another object. Add a location if it helps:
Remove the watermark from the bottom-right corner and reconstruct the background naturally.
Say what must stay unchanged
An AI editor may alter more than you expect, so include the important constraints in the prompt:
Remove the watermark while keeping the person, background, colors, lighting, and composition unchanged.
This does not guarantee pixel-perfect preservation, but it gives the model a clearer brief and makes the result easier to evaluate.
Make a second, focused edit when necessary
If the first result leaves part of a watermark behind or creates an unnatural patch, try another pass with a more specific instruction. Describe the location and the kind of background that should continue through it. Keep each pass focused on one problem so you can tell whether the edit improved the image.
Appropriate uses for AI watermark removal
This workflow is suitable for images that you own or are authorized to modify. For example, you might use it to:
- remove a retired logo from your company's old campaign artwork;
- update a product image after your own brand name changes;
- remove a date, label, or temporary note from your own photo;
- clean up placeholder marks in a design draft;
- fix an unwanted element introduced during your own editing process;
- revise licensed material when the license or rights holder permits the change.
Watermarks often identify a creator, platform, or copyright owner. Erasing that identifier does not transfer ownership, expand a license, or make someone else's work available for commercial use. If you are unsure, get permission or obtain an authorized, unwatermarked copy instead.
A reusable prompt
Traditional watermark removal can mean cropping away useful content, hiding the mark with a visible patch, or spending time on a detailed manual repair. A generative editor turns the first attempt into a short workflow: upload the image, describe the change, generate, and inspect the result.
To try it on an image you have the right to edit, open the ImageFree.net AI Photo Editor and start with this prompt:
Remove the watermark from this image and reconstruct the background naturally. Keep the original composition, colors, lighting, and details unchanged.
Natural-language editing makes the process easier, but the final quality decision is still yours. Compare the output with the source, zoom in on every repaired area, and only keep a result that preserves the details that matter.