How to Edit Photos with AI Without Losing Important Details
A practical guide to choosing AI or traditional photo editing, writing focused instructions, and checking details a generative edit may change.
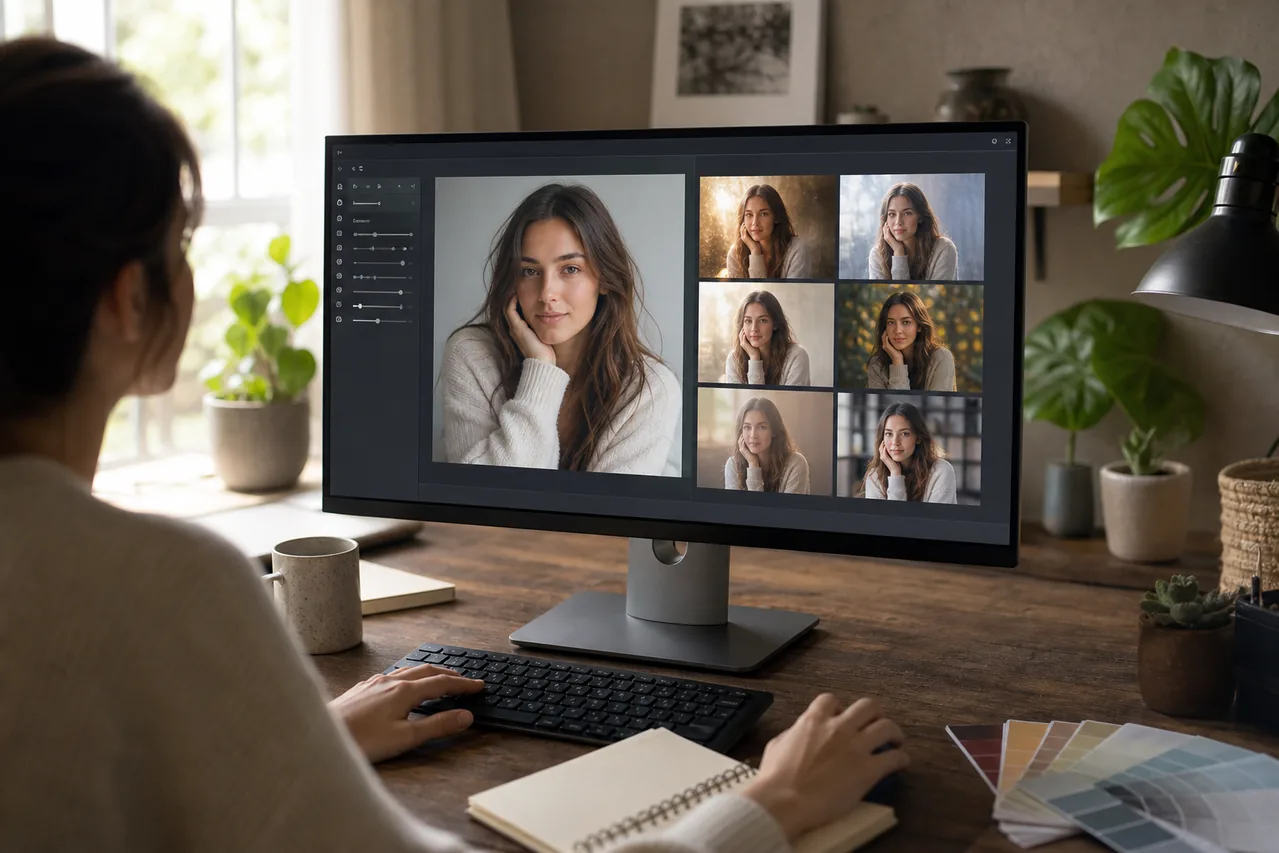
AI photo editing is useful when you can describe a result more easily than you can build it with selections, masks, and adjustment layers. That does not make it a replacement for a conventional editor. It is a different tool: fast at interpreting a visual request, but less predictable about which pixels it changes.
This guide combines three practical questions: what AI editing is good at, when a traditional editor is safer, and what to inspect before publishing the result.
Choose based on what must remain exact
An AI editor is a reasonable starting point for simplifying a background, exploring new light or color, changing atmosphere, or removing an isolated distraction. A traditional editor is usually safer when the job depends on an exact mask, repeatable settings, layers, batch processing, readable packaging, or faithful documentary detail.
The dividing line is interpretation versus control. A generative editor may redraw part of an image even when the prompt says “keep everything else unchanged.” That phrase clarifies intent; it is not a guarantee.
Write one edit instruction at a time
A testable instruction identifies the target, the requested change, and the details you will inspect afterward. Instead of “make it brighter,” try:
“Brighten the person’s face with soft window light from the left. Keep the expression, hair, clothing, and background composition unchanged.”
Do not combine object removal, sky replacement, relighting, and color grading in one pass. Save the original, make one change, compare, and decide whether the result is a safe input for another edit.
Five useful edits and what to check
1. Remove a small distraction
“Remove the red bin at the lower left. Reconstruct the pavement from the surrounding texture. Keep the people, storefront, and framing unchanged.”
Inspect repeated brick, floor lines, railings, and shadows. If the object overlaps a hand, face, product, or strong pattern, a manual healing tool may be faster.
2. Simplify a portrait background
“Replace the cluttered room behind the person with a softly blurred neutral studio background. Keep the face, hairline, expression, clothing, and pose unchanged.”
Compare eyes, teeth, earrings, hair, fingers, and garment edges with the original. Use a background remover when you need a transparent cut-out; a generated replacement is a new image, not an editable mask.
3. Change the lighting mood
“Add gentle golden-hour light from the upper left, with warm highlights and soft shadows. Keep the building geometry and people unchanged.”
Check that shadows agree with the new light. If you only need exposure or white balance correction, conventional controls are more repeatable.
4. Replace a flat sky
“Replace only the pale overcast sky with thin evening clouds and a muted orange glow near the horizon. Keep the skyline, trees, and foreground unchanged.”
Zoom in where branches, antennas, and roofs meet the sky. Also judge whether the new sky and the original foreground lighting still belong in the same scene.
5. Explore a visual style
“Reinterpret this street scene as a quiet hand-painted travel illustration, with restrained colors, visible paper texture, and simplified background detail.”
Treat a style change as a new interpretation. Do not use it where a person, place, artwork, or product must remain a faithful record. Describe palette, medium, texture, and detail instead of naming a living artist.
AI editor or traditional editor?
Use the AI photo editor for a broad draft when variation is acceptable. Use a conventional editor for exact selections, typography, numerical color correction, repeatable batch work, and final repair. A mixed workflow is often strongest: explore one change with AI, reject any damaged version, then finish precise work with visible controls.
Review the result in a fixed order
- Identity: face, pose, silhouette, and distinctive features.
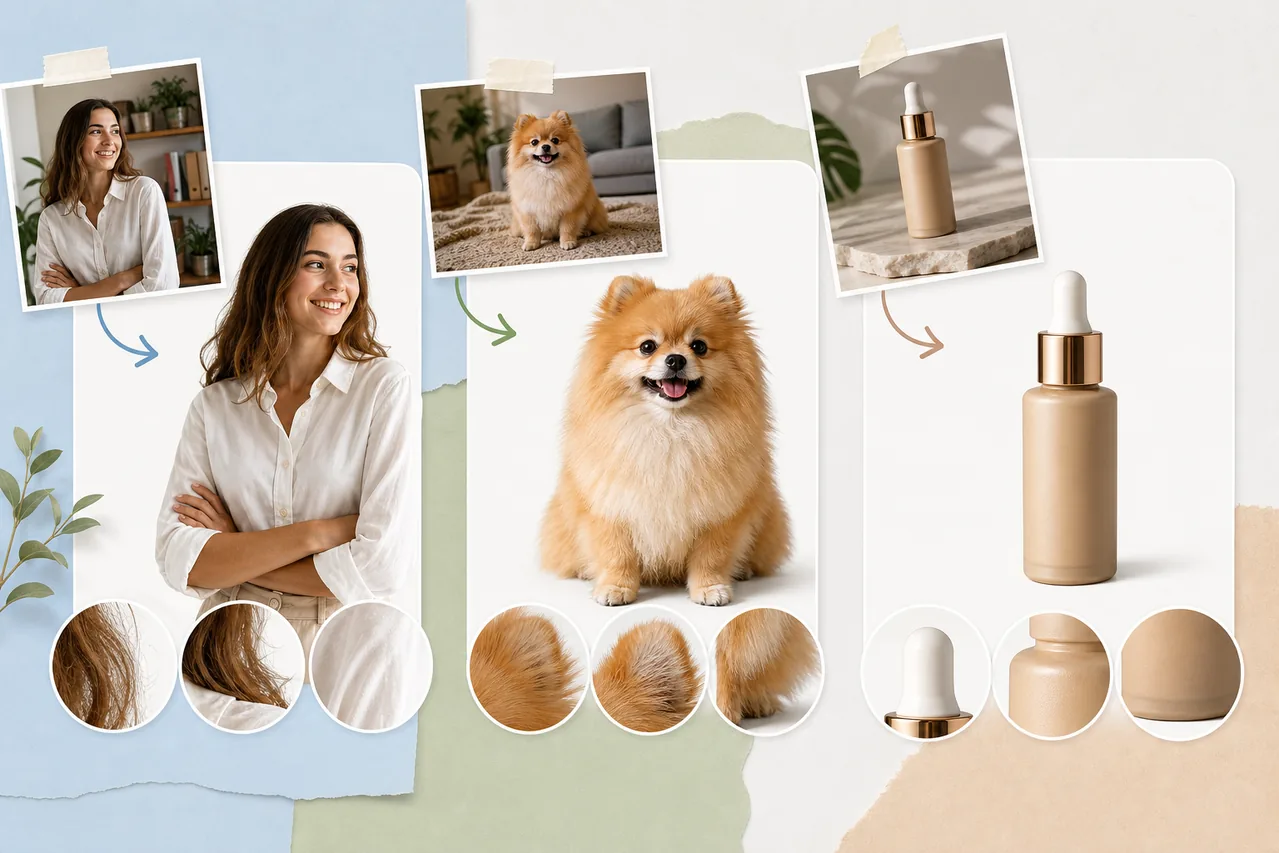
- Product truth: shape, label area, controls, seams, and proportions.
- Geometry: straight lines, fingers, wheels, furniture, and repeated patterns.
- Lighting: shadow direction, reflections, and contact shadows.
- Edges: hair, leaves, glass, fabric, and the changed region.
- Final crop: the version as it will appear in the real layout.
Reject a result when a changed detail affects identity, safety, product claims, or documentary accuracy. If the approved file is genuinely smaller than its delivery layout, test the 2× image upscaler last and inspect it at 100%.
The prompt begins the edit. A side-by-side review—and the decision to keep or discard the result—finishes it.