Using AI Images in Blog Posts Without Making the Article Feel Generic
A writer-focused method for planning useful AI illustrations, writing honest alt text, avoiding filler, and reviewing generated images before publication.
An image earns its place in an article when it helps the reader orient, compare, or understand. It does not earn a place merely because a long page "needs a visual break."
That rule is especially useful with AI images. Generation is quick, so it is easy to add polished but empty decoration. The result often looks like a template: glowing laptop, floating charts, coffee cup, repeat.
Plan the visual job before the prompt
Write a one-line image brief beside the outline. Good briefs describe what the reader should gain:
- Show the four edge problems discussed in the next section.
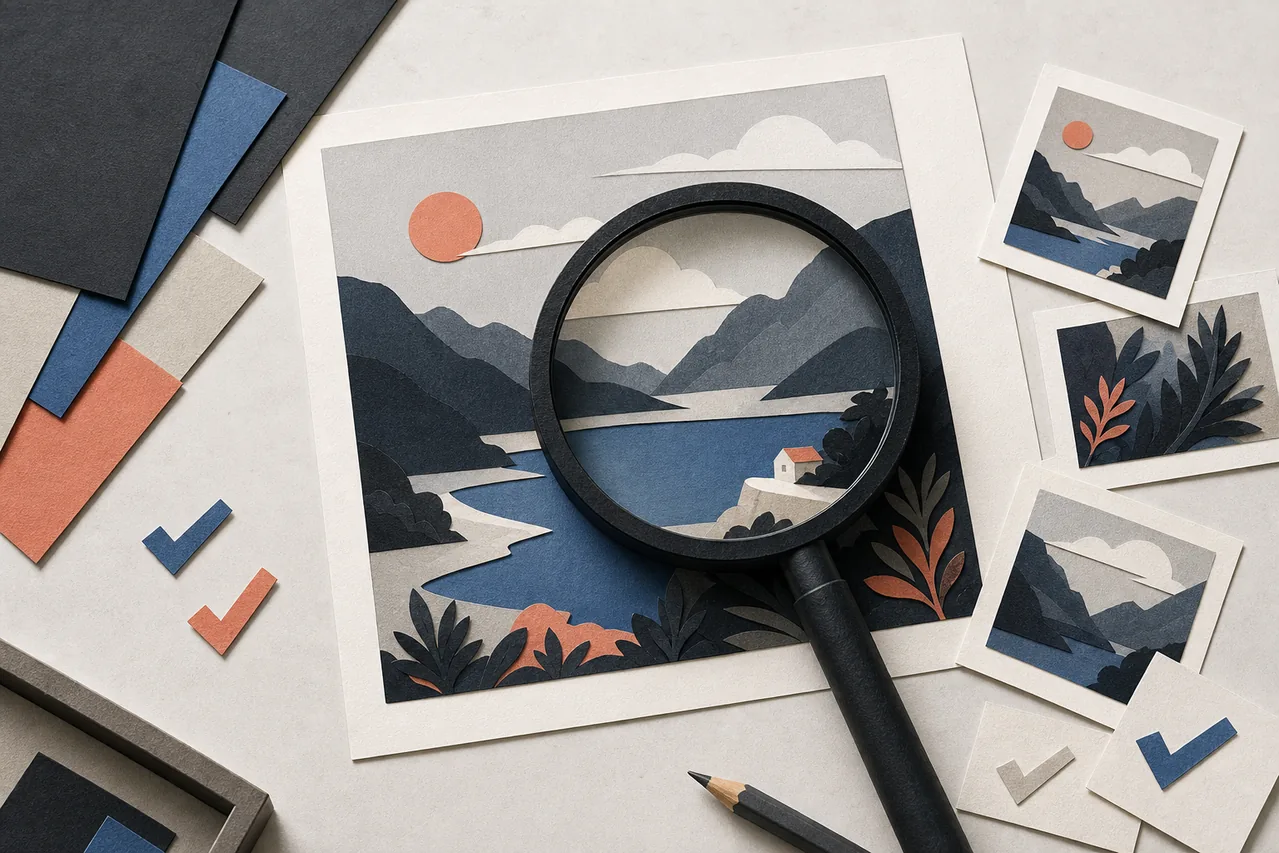
- Give the article a calm, handmade mood without depicting a fake real event.
- Demonstrate the difference between a centered and off-center composition.
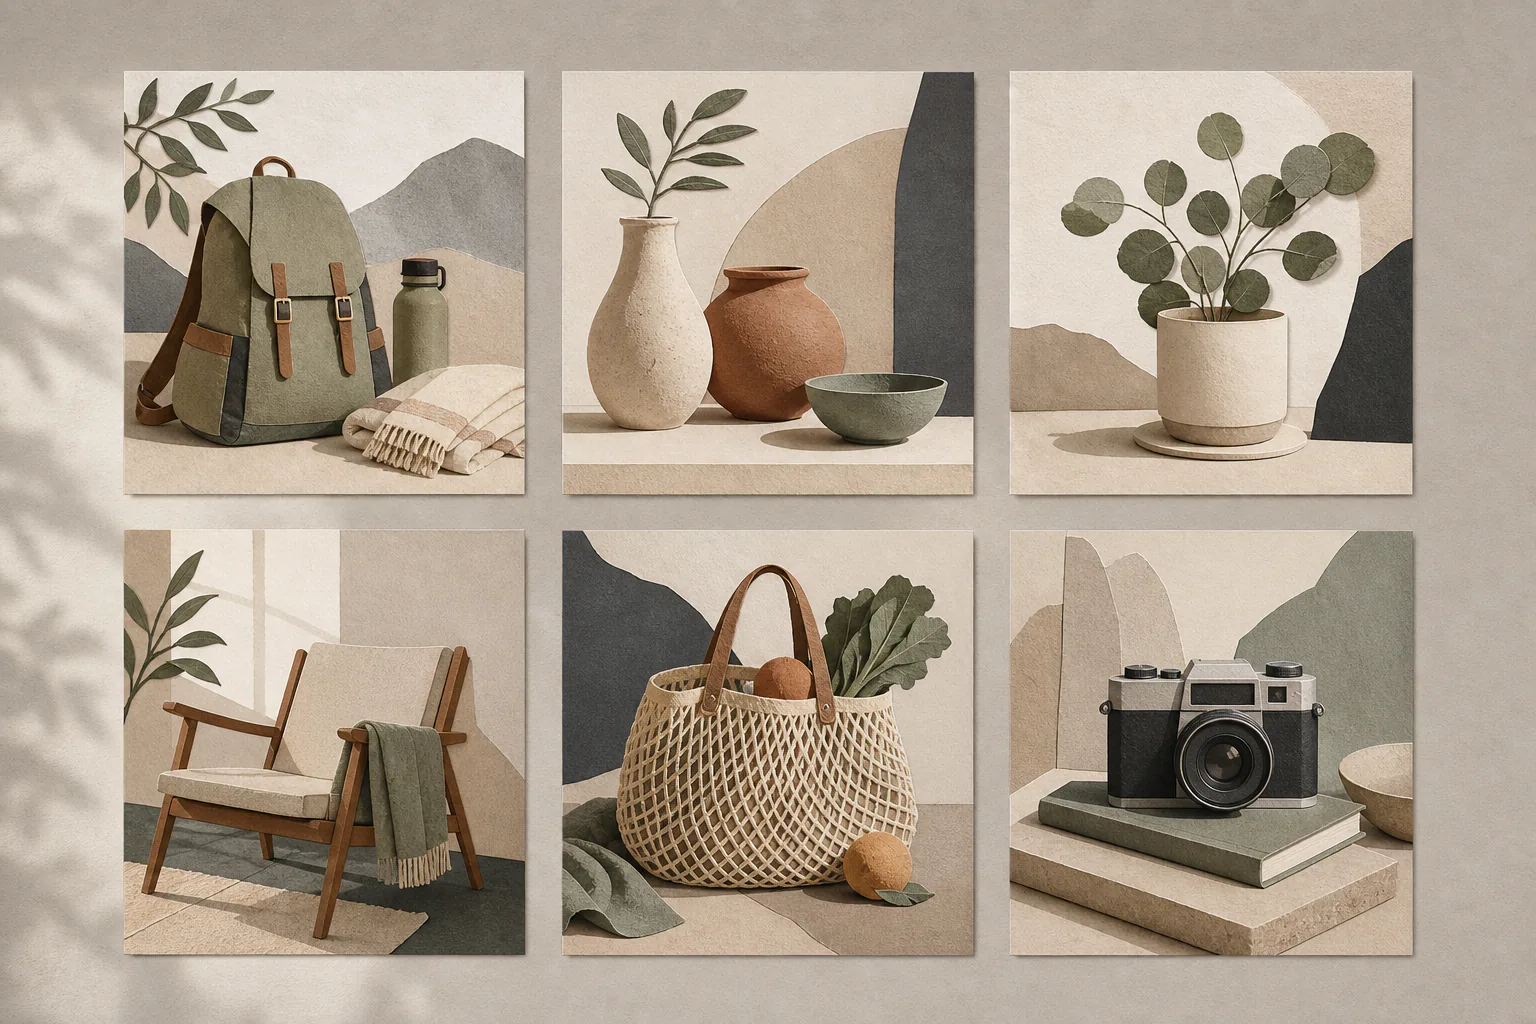
- Provide a neutral social preview with room for real typography.
If the brief is only "make this section less text-heavy," skip the image.
Choose the right kind of visual
Use a generated illustration for atmosphere, metaphor, or a fictional scene. Use a real screenshot for interface instructions. Use a diagram for a process. Use an actual photograph when the article makes a claim about a real product, person, or place.
Do not replace evidence with decoration. A synthetic photo of an upscaled face does not demonstrate upscaler quality; a labeled crop from a real before-and-after test does.
Write prompts from the article, not from a stock-photo cliché
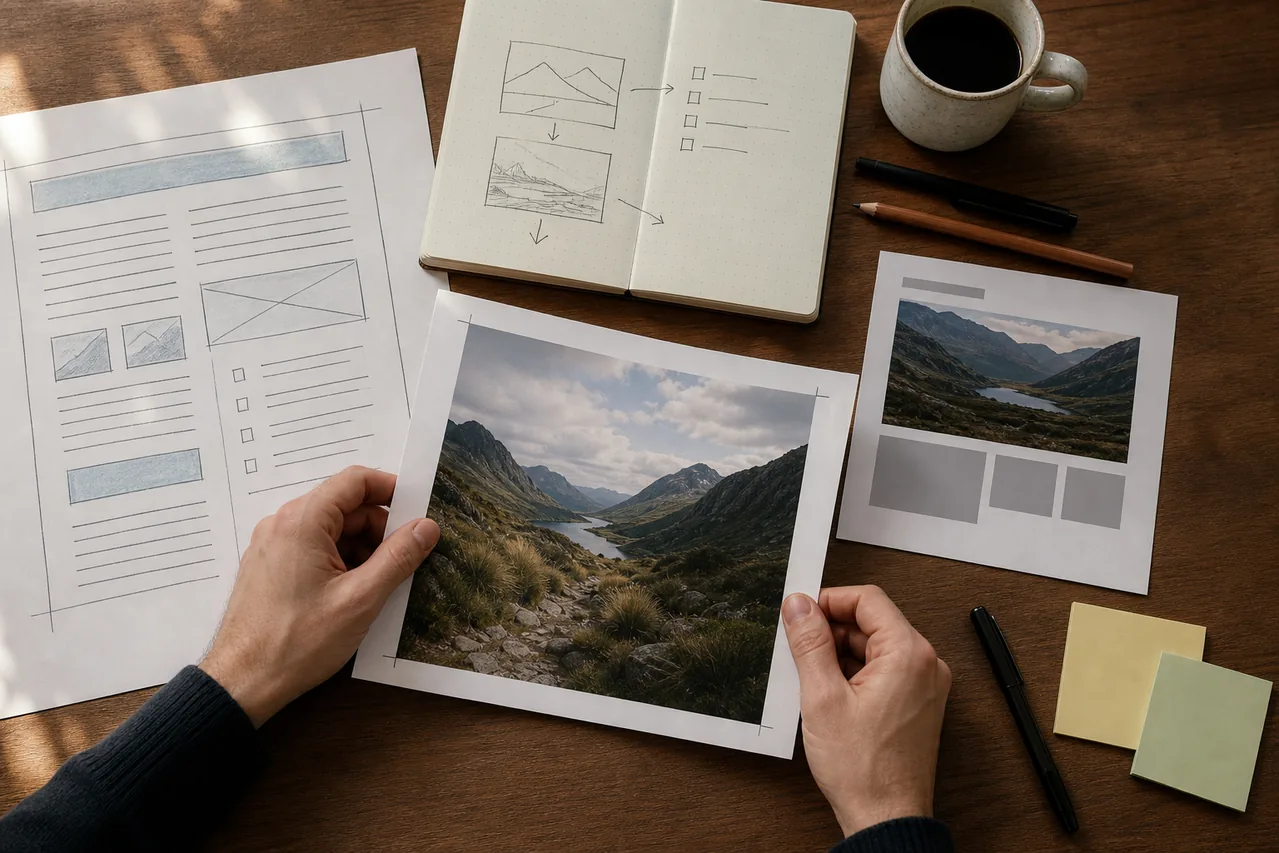
Start with the paragraph the image supports. Pull out the concrete nouns, action, and visual relationship. Then add medium, framing, light, palette, and any needed empty space.
Weak brief: "AI technology for business."
More useful brief: "Editorial illustration of a small design team comparing three printed packaging concepts on a table, natural window light, restrained blue and warm paper palette, eye-level wide composition, no screens, no text."
The second prompt gives the image a job and avoids the familiar blue hologram aesthetic.
Keep text outside the generated image
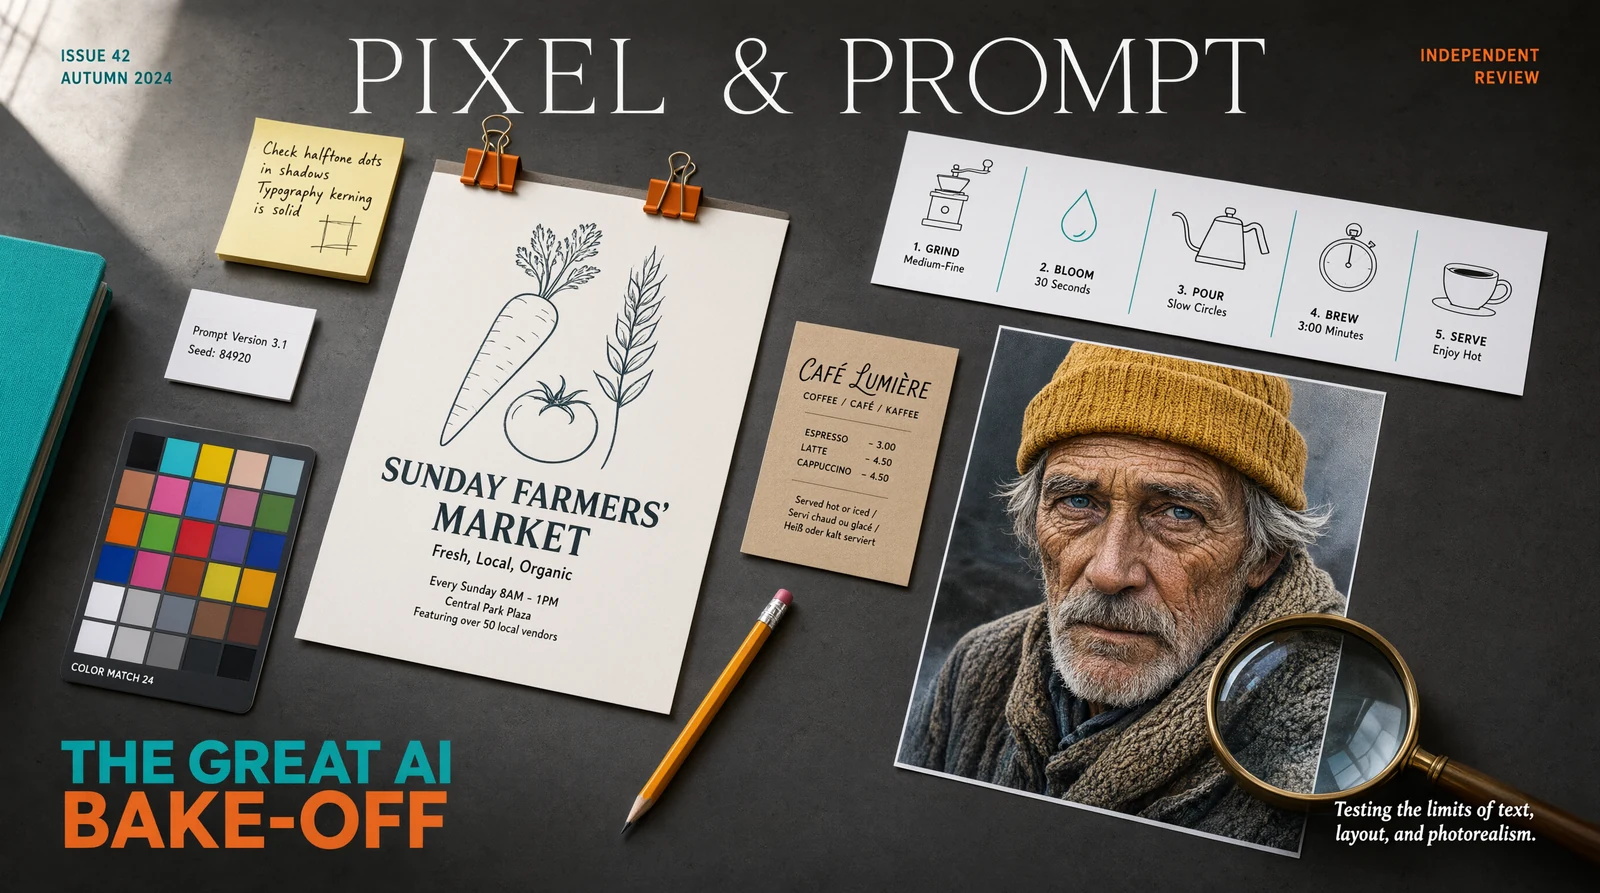
Even when a model can render words, headlines and labels are easier to edit, translate, and make accessible as real text. Generate the background with deliberate negative space, then add typography in your layout tool.
This also prevents a common publishing mistake: an attractive hero containing misspelled text that nobody notices on mobile.
Use honest alt text
Alt text should describe the image's useful content, not repeat the article keyword. If the image is decorative, an empty alt attribute is often correct. If it explains something, describe the relationship:
- Useful: "Three packaging mockups arranged from minimal to colorful on a studio table."
- Keyword-stuffed: "Best free AI image generator for AI image generation online."
Do not describe a generated scene as a photograph of a real event. "AI-generated illustration of…" can be useful context when realism might otherwise mislead.
Review before publishing
Zoom in and inspect hands, eyes, reflections, repeated objects, small text, logos, and edge details. Ask whether the image accidentally introduces a factual claim—for example, a product feature your article never verified or a uniform that implies a real organization.
Use a descriptive filename, export an appropriately sized WebP or JPEG, and keep the source prompt in your editorial notes. Those steps help maintenance; they do not guarantee search rankings.
A restrained image plan
There is no universal image-to-word ratio. A 2000-word tutorial may need six screenshots. A personal essay may need one cover. A reference article may need none.
For most posts, begin with one purposeful cover and one genuinely explanatory inline visual. Add more only when the outline identifies another visual job. Relevance and page speed matter more than a target count.
The AI image generator can shorten the path from brief to draft. The editorial work still happens afterward: selecting, checking, cropping, captioning, and deciding whether the image deserves to be published at all.